
Build Your First Blog with Hexo, AWS S3, and Cloudflare
In this post, I am going to introduce how I build my blog. I am very confident that this is the easiest way I have ever found to have your website in just one hour with only a little effort. In this way, you can do it even without a web server.
AWS S3 gives an approach called “Static website hosting” to deploy your static web sites without a “real” web server[1].
1 Generate your blog websites with Hexo
2 Deploy Your Blog with AWS S3
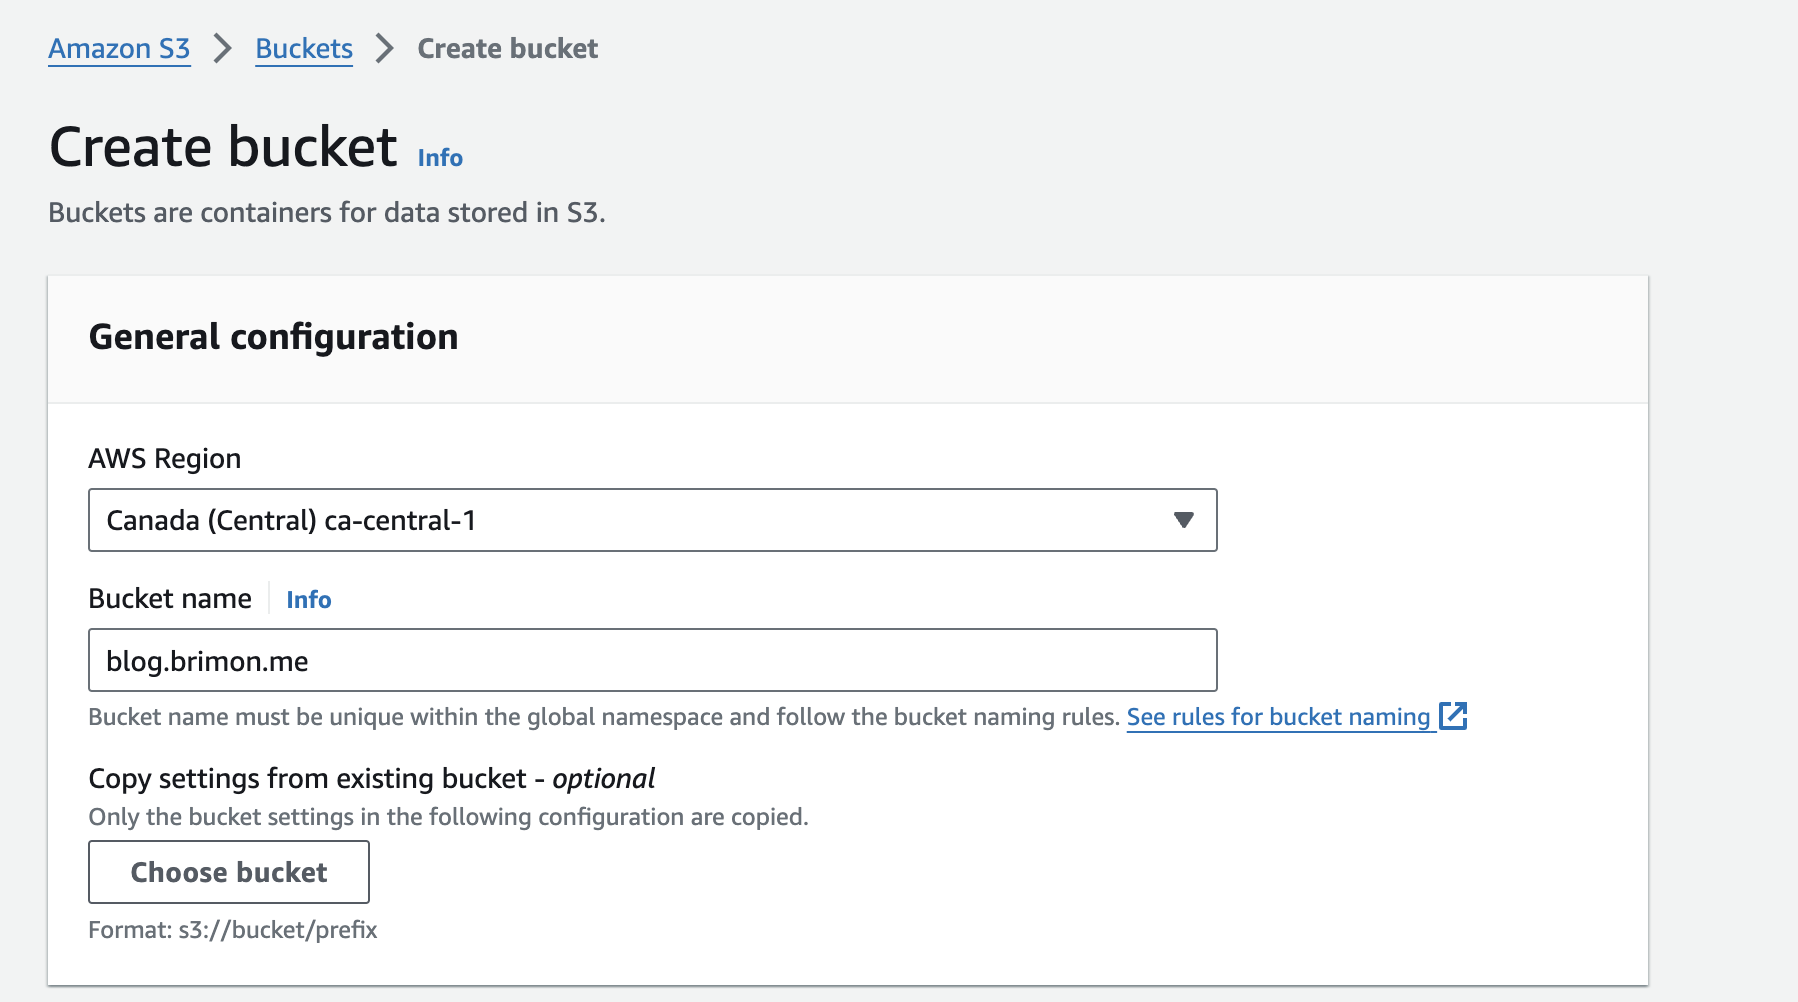
2.1 Create a new S3 bucket
Create a new S3 bucket with the name of the domain name you want to use to visit your blog in the future. AWS provides a way to visit your resources in S3 bucket with the url pattern http://BucketName.s3.Region.amazonaws.com/[Filename]. However, if you want to visit your website with your own domain, you have to make the name of the bucket consistent with your own domain name[2]. For example, blog.brimon.me which is shown in Figure 1.
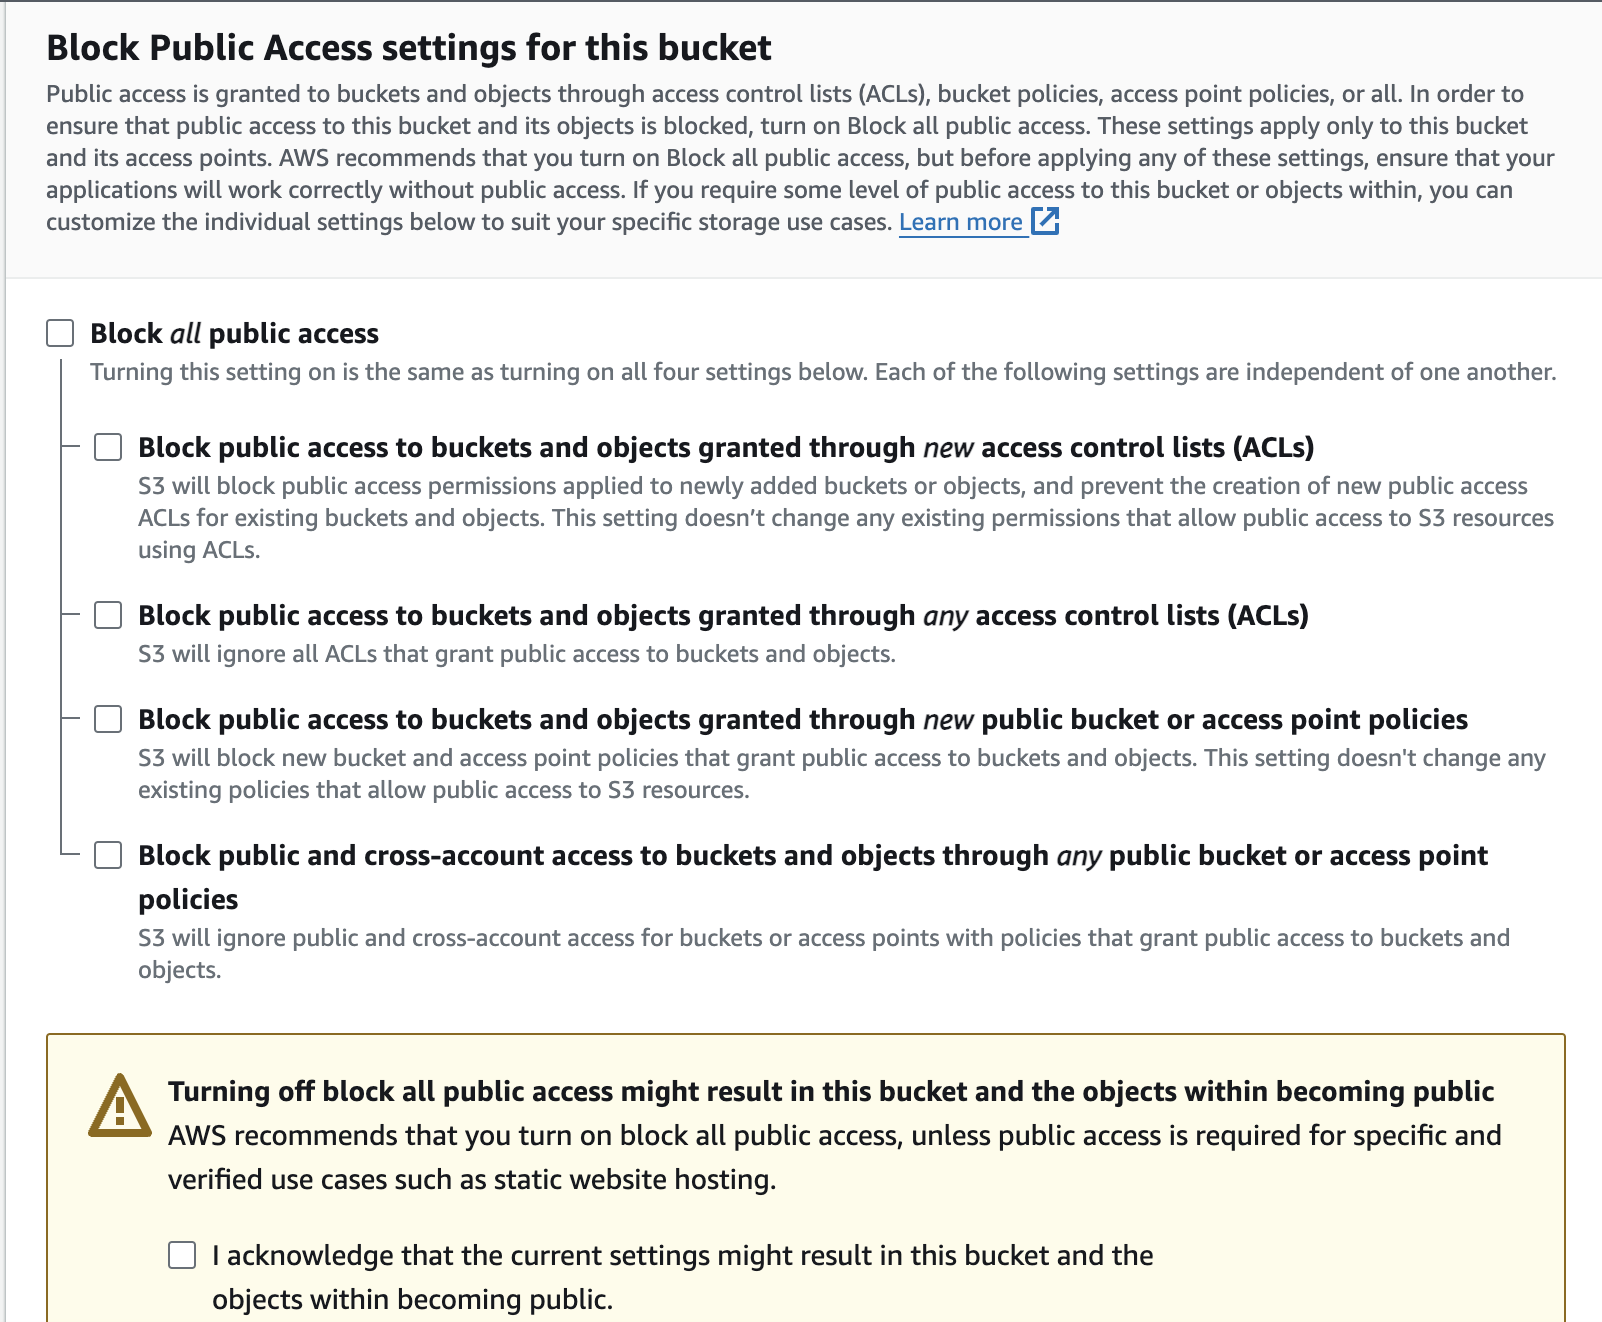
Unblock the public access to make sure everyone has the access to visit your website. You can also unblock it after the bucket is created.
2.2 Upload Blog Static Files to S3
Use the command below to let hexo generate the latest static file of your blog.
1 | hexo g |
Upload the files to s3 with aws CLI.
1 | aws s3 sync |
The newly uploaded files then can be found in AWS Console.
2.3 Turn on Static Website Hosting
Follow the steps below from the document of AWS to turn on the static website hosting [1].
Sign in to the AWS Management Console and open the Amazon S3 console at https://console.aws.amazon.com/s3/.
In the Buckets list, choose the name of the bucket that you want to enable static website hosting for.
Choose Properties.
Under Static website hosting, choose Edit.
Choose Use this bucket to host a website.
Under Static website hosting, choose Enable.
In Index document, enter the file name of the index document, typically index.html.
The index document name is case sensitive and must exactly match the file name of the HTML index document that you plan to upload to your S3 bucket. When you configure a bucket for website hosting, you must specify an index document. Amazon S3 returns this index document when requests are made to the root domain or any of the subfolders. For more information, see Configuring an index document.
To provide your own custom error document for 4XX class errors, in Error document, enter the custom error document file name.
The error document name is case sensitive and must exactly match the file name of the HTML error document that you plan to upload to your S3 bucket. If you don’t specify a custom error document and an error occurs, Amazon S3 returns a default HTML error document. For more information, see Configuring a custom error document.
Choose Save changes.
Under Static website hosting, note the Endpoint.
The Endpoint is the Amazon S3 website endpoint for your bucket. After you finish configuring your bucket as a static website, you can use this endpoint to test your website.
The steps above are retrieved from AWS official document[1].
2.4 Grant Public Access
To grant public read access for your website, copy the following bucket policy, and paste it in the Bucket policy editor[1].
1 | { |
3 Protect your website with CloudFlare
This step required your domain name is managed in Cloudflare.
The website endpoint aws provided is over legacy http protocal in which the data is not encrypted. And in such protocol, The authenticity of the website can not be assured which is susceptible to exploitation by fake websites. In legacy, we have to buy a SSL/TLS Certification from a CA, and deploy this Certification on the web server. However, It can be quite easy by utilizing the proxy service provided by Cloudflare.
In cloudflare, add a CNAME record in Cloudflare DNS management module. The name of the record is the subdomain of your blog and the target is the website endpoint provided by AWS.

References
[1] Amazon. (n.d.). Amazon Simple Storage Service (S3) documentation: Configuring a static website using Amazon S3. Retrieved from https://docs.aws.amazon.com/AmazonS3/latest/userguide/WebsiteEndpoints.html
[2] Amazon. (n.d.). Amazon S3 virtual hosting of buckets. Amazon Web Services. Retrieved from https://docs.aws.amazon.com/AmazonS3/latest/userguide/VirtualHosting.html#VirtualHostingCustomURLs
Build Your First Blog with Hexo, AWS S3, and Cloudflare
http://blog.brimon.me/2023/03/01/Life/Build-your-first-blog-with-hexo-aws-s3-and-Cloudflare/